DIY Paper Flower Bouquet
Create a beautiful paper flower bouquet to brighten up your home or give as a thoughtful handmade gift. This step-by-step guide will show you how to make colorful paper flowers that look almost like the real thing.
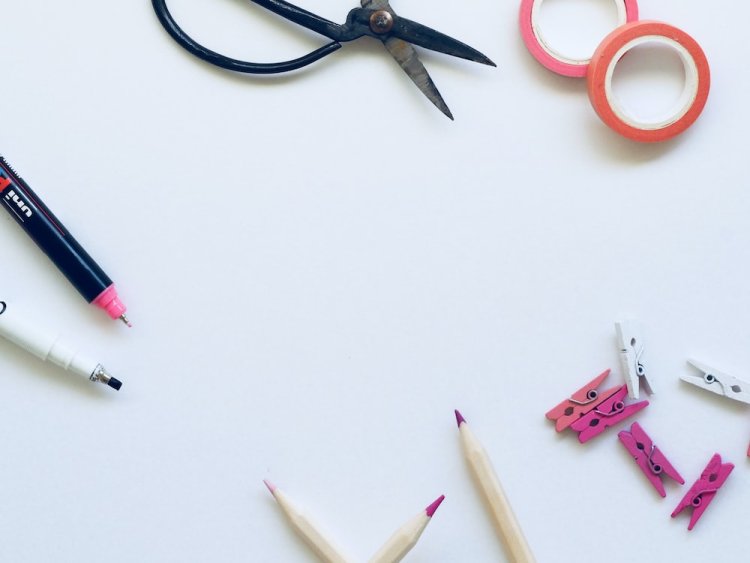
Materials Needed:
- Colored craft paper
- Scissors
- Pencil
- Glue or adhesive tape
- Floral wire or green pipe cleaners
- Green floral tape
- A vase or container (optional)
- Ribbon (optional, for decoration)
Step 1: Choose Your Paper Select the colors of craft paper you'd like to use for your paper flowers. You can choose multiple colors to create a vibrant bouquet.
Step 2: Create Petal Templates Draw and cut out petal templates for your flowers. You can create various sizes and shapes of petals for different flowers. Common shapes include teardrop, heart, or oval.
Step 3: Cut the Petals Trace and cut the petals from your chosen colored craft paper. You'll need multiple petals for each flower. The number of petals will depend on the size and fullness you want for each flower.
Step 4: Shape the Petals Using your fingers, gently curl the edges of each petal to give them a more natural appearance. You can do this by rolling the edges between your thumb and forefinger.
Step 5: Create the Flower Center Cut a small circle from a contrasting color of craft paper to create the flower's center. This will be the base for attaching the petals.
Step 6: Assemble the Flower Take one of the petals and apply a small amount of glue or use adhesive tape to attach it to the center. Continue adding petals one by one, slightly overlapping them to create a layered effect. Adjust the petals as needed to achieve the desired shape and fullness.
Step 7: Attach the Stem Cut a piece of floral wire or use a green pipe cleaner for the stem. Secure it to the base of the flower using glue or tape. If using a pipe cleaner, you can twist it around the base for added stability.
Step 8: Wrap the Stem Wrap the stem with green floral tape to give it a more realistic appearance. Start at the base of the flower and work your way down the stem, stretching and winding the tape as you go.
Step 9: Create More Flowers Repeat the above steps to create as many flowers as you'd like for your bouquet. Vary the colors and sizes to make the bouquet more interesting.
Step 10: Arrange Your Bouquet Once you've made all your paper flowers, arrange them in a vase or container. You can add ribbon for a decorative touch. If you want, you can also make paper leaves to add to the bouquet for a more natural look.
Congratulations! You've created a stunning DIY paper flower bouquet that will add a pop of color to any space or make a heartfelt gift for someone special.
What's Your Reaction?